New Vendor Invoice
You can create a new vendor invoice by clicking the + New Invoice button on the main Payables Ledger page. This will take you to the "New Vendor Invoice" screen.
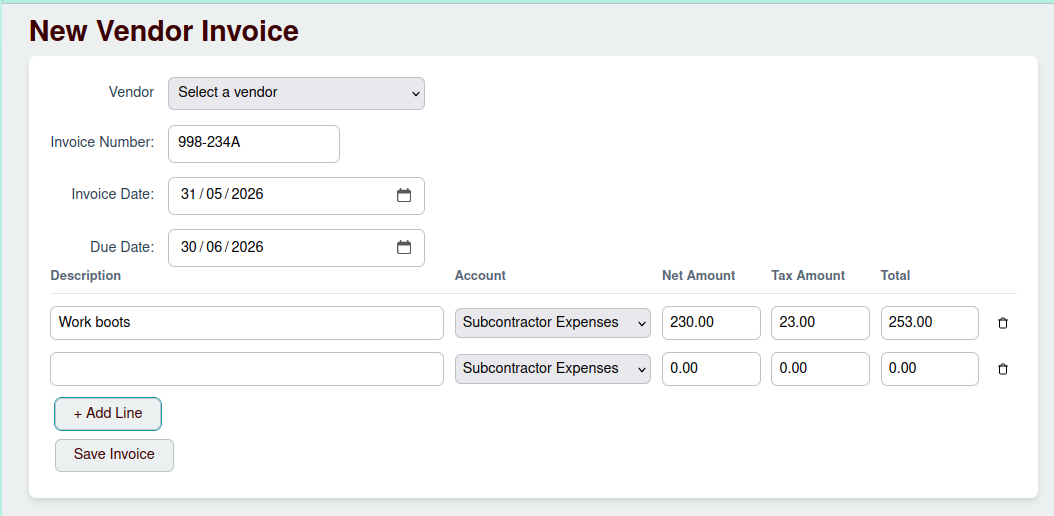
Invoice Header
The top section of the form contains the main details for the invoice:
- Vendor: Select the vendor from the dropdown list.
- Invoice Number: Enter the invoice number provided by the vendor.
- Invoice Date: The date the invoice was issued.
- Due Date: The date the payment is due.
Invoice Lines
Every invoice must have at least one line item. For each line, you need to provide:
- Description: A description of the goods or services provided.
- Account: The expense account that this line item should be allocated to.
- Net Amount: The amount of the line item before tax.
- Tax Amount: The amount of tax for the line item.
- Total: The total amount for the line (Net + Tax), which is calculated automatically.
You can add more lines by clicking the + Add Line button.
Saving the Invoice
Once you have entered all the details, click the Save Invoice button to save the new invoice. It will then appear in your Payables Ledger.