Managing a Vendor Invoice
When you click on an invoice in the Payables Ledger, the Invoice Drawer will open. This is where you can view the invoice's details, see the items on the invoice, and record payments.
The drawer has three main tabs:
- General: For the invoice's main details and notes.
- Items: For managing the individual line items on the invoice.
- Payments: For recording and viewing payments made against the invoice.
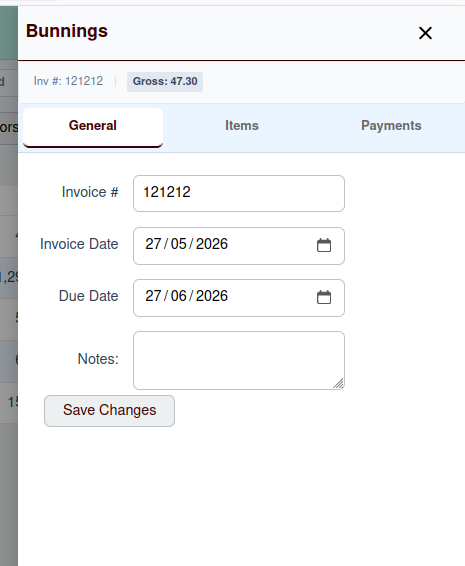
The General Tab
The "General" tab displays the core information about the invoice, such as the vendor, invoice number, dates, and amounts. You can also add or edit notes for the invoice here.
The Items Tab
The "Items" tab lists all the individual line items on the invoice. From here, you can add new items, edit existing ones, or delete them.

Each line item includes a description, the expense account it's allocated to, and the net and tax amounts.
The Payments Tab
The "Payments" tab is where you can record payments made against the invoice. It shows a list of all payments that have already been made and provides a form to enter a new payment.
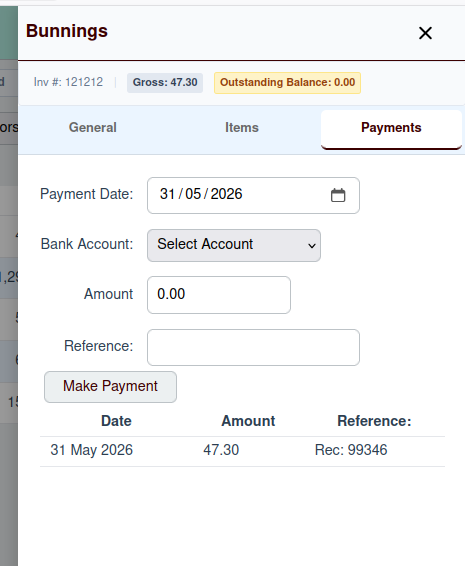
To make a new payment, you need to provide:
- Payment Date: The date the payment was made.
- Bank Account: The bank account the payment was made from.
- Amount: The amount of the payment.
- Reference: An optional reference number for the payment.
Once a payment is recorded, the invoice's Balance Due will be updated accordingly.